

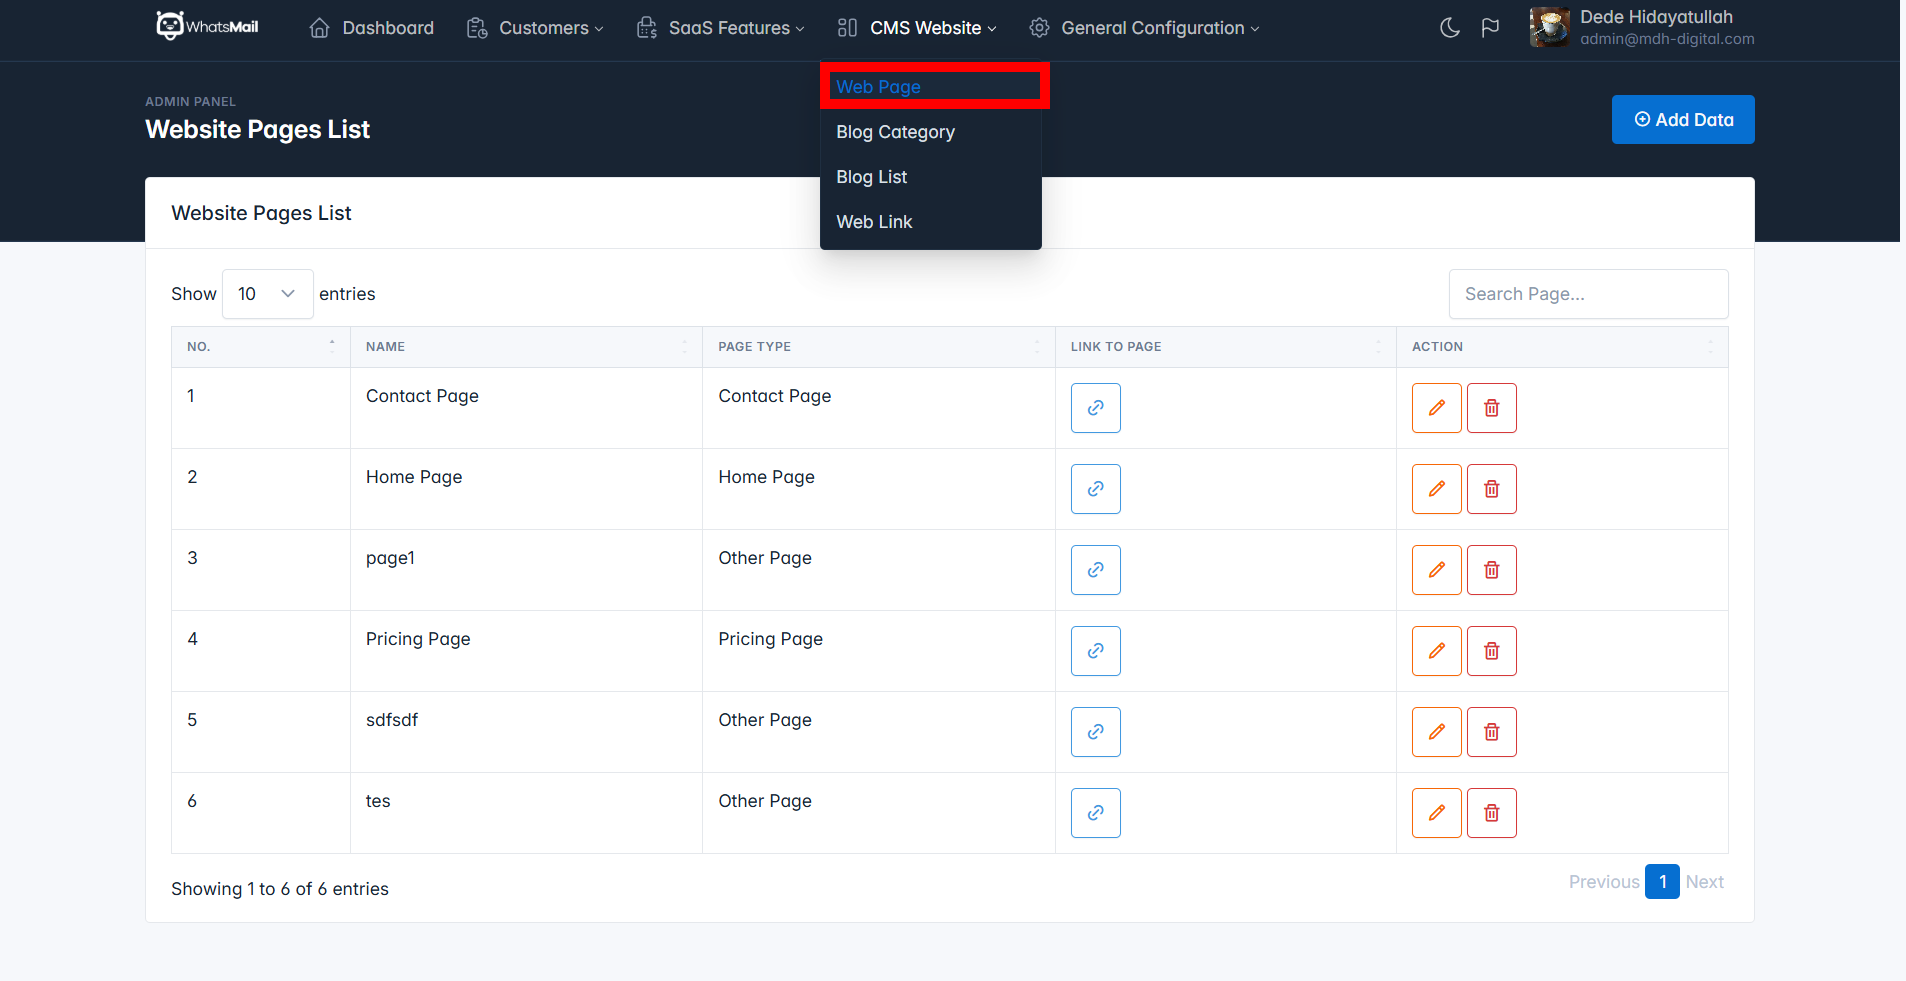
To manage the website pages, you can access the sidebar menu Cms Website -> Website Pages
To add a page, you only need to enter the name of the page and the type of the page you want to add.
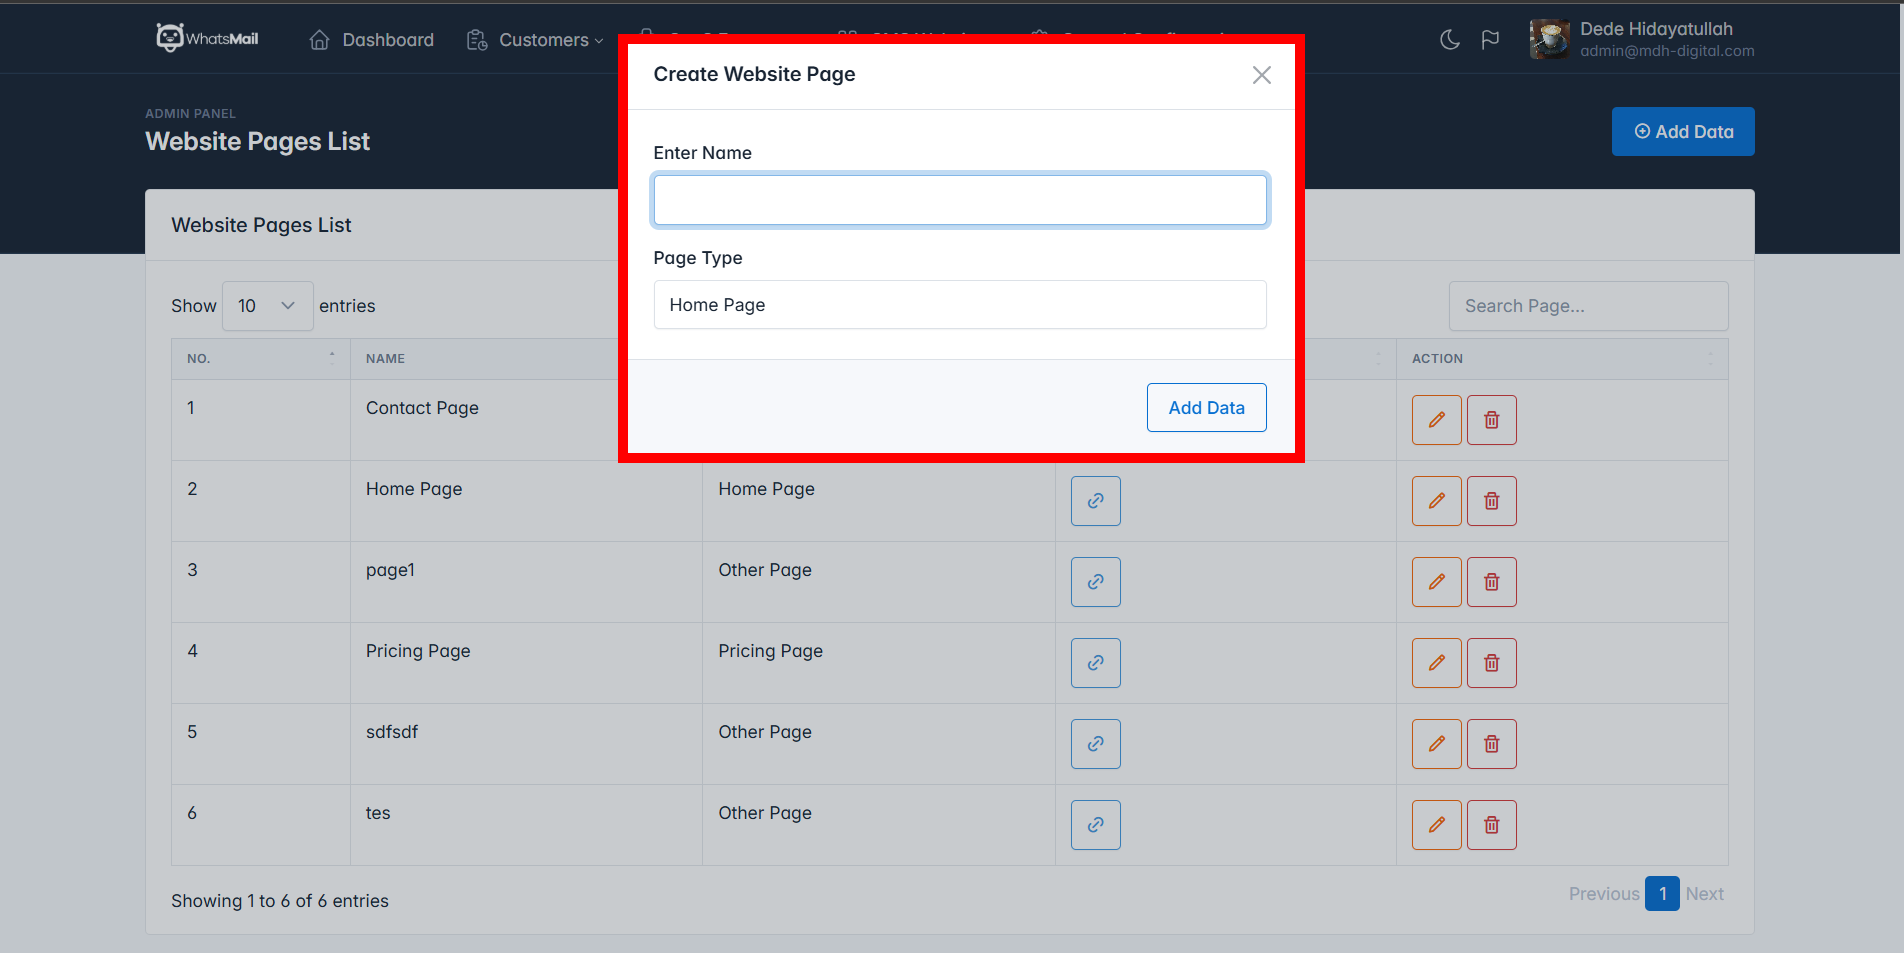
For your information, except for the Other type, you can only add one page per type. Additionally, for the Other page type, it will not automatically appear in the website page menu and needs to be configured in the Doc Links
When you first add a website page or enter the page edit action, you will be directed to the Website Builder page.
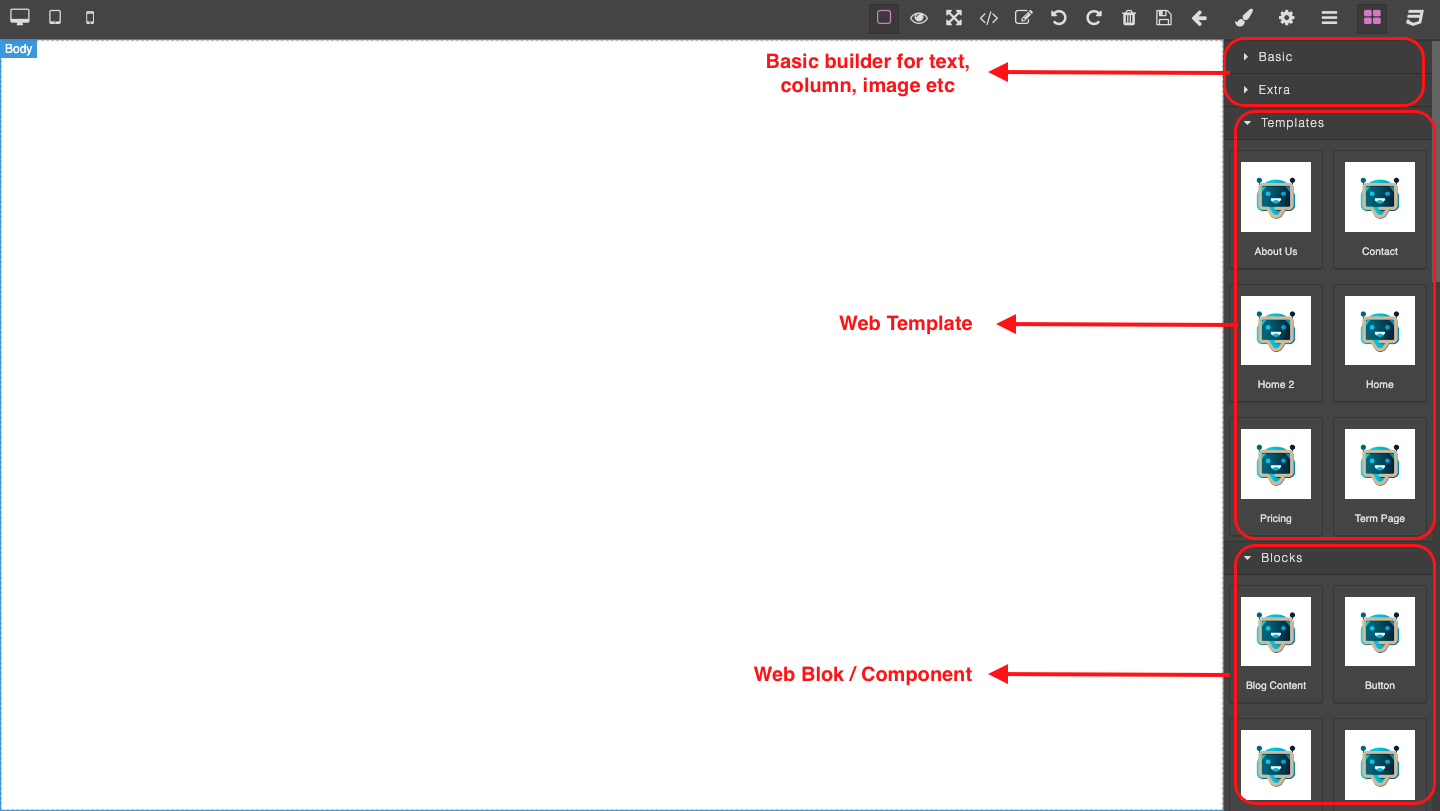
In this initial version, we have provided page templates and many components to help you customize the appearance you want. Here is a list of what we provide:
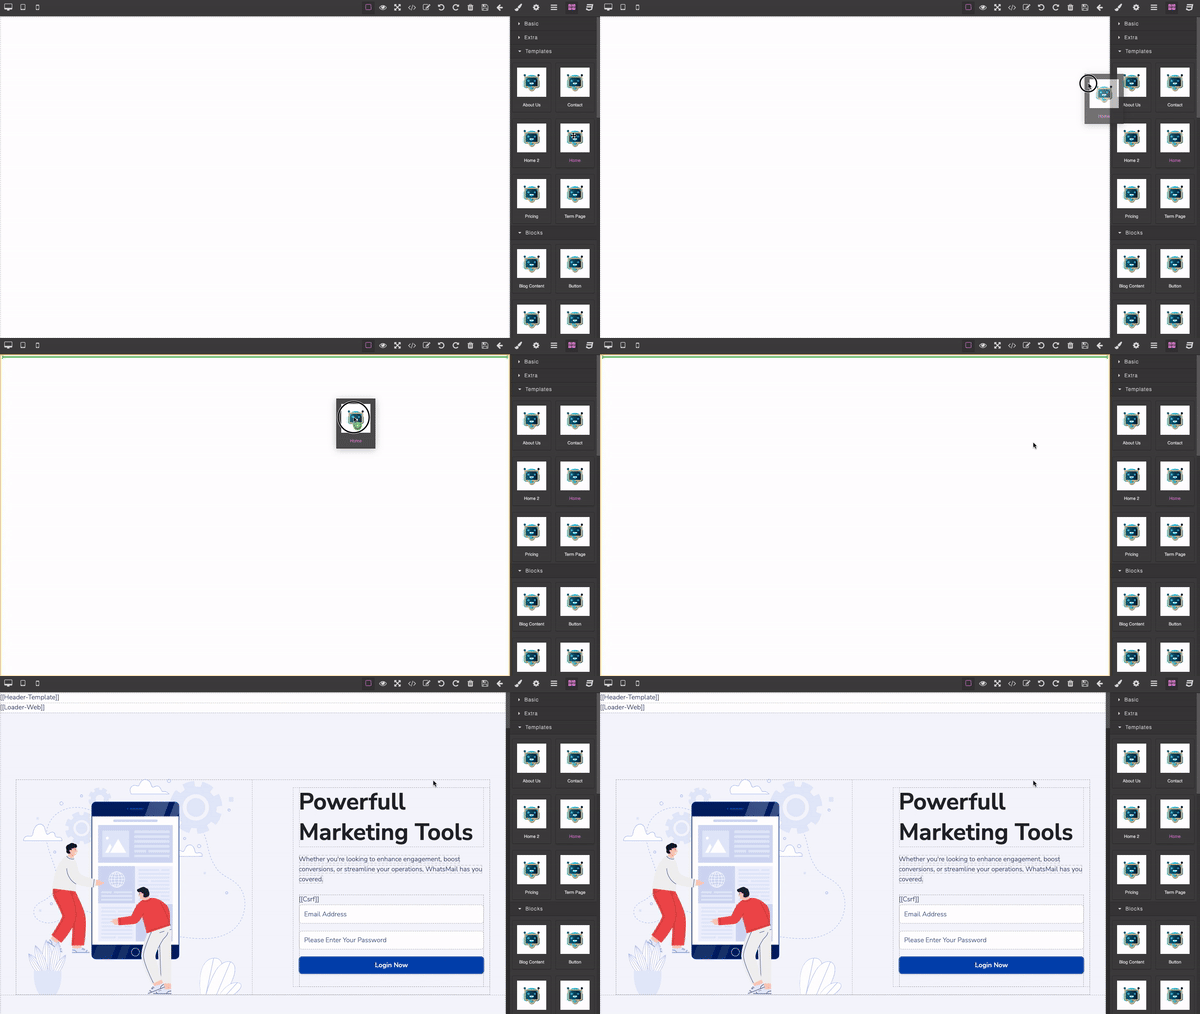
Home Page - Home Page with Hero User LoginHome Page 2 - Home Page Version 2 with colorful hero sectionPricing - Dynamic Pricing Page template based on subscription pricing dataAbout Us - Template with several examples of other component applicationsContactTerm Page - Simple template for creating terms and conditions pages and similar contentBlog Content - Placeholder code that dynamically fetches the latest blog posts and componentsButton - Static component to create buttons with icons and colorsCard - Static component to create cards with icons and textCard 2 - Static component to create cards with icons, text, and checklistsClient - Static component to display "Our Client / Our Partners" with logosCountdown - Static component to create countdown cardsCountdown 2 - Static component to create countdowns with colored backgroundsCsrf - Placeholder code to include CSRF functionality, useful when creating formsFaq - Static component to create FAQ sections with collapsible answersHeader - Placeholder code to include the website header template with all its functionalitiesHeader 2 - Placeholder code to include the header-2 template with all its functionalitiesHero - Static hero component with image and login formHero 2 - Static hero component with background color and buttons to registration and login pagesHistory Step - Static component to create a timeline or step-by-step process displayIcon - Static component to create icon descriptions or feature descriptionsIcon 2 - Static component to create icon descriptions or feature descriptions horizontallyLoader - Placeholder code to include website loader componentLogin Form - Static login form component with embedded CSRF codeDynamic Pricing - Placeholder code to include dynamic pricing components from the databaseStatic Pricing - Static component to create pricing displays not tied to database dataScripts - Placeholder code to include JavaScript template componentsSubTitle - Static component to create subtitlesTabs - Static component to create tabbed displays with imagesTestimonials - Static component to create user testimonial displaysText Section - Static component to create text descriptions with sample imagesTitle - Static component to create titlesSelect the template you want to use, then drag and drop it into the website editor's body.
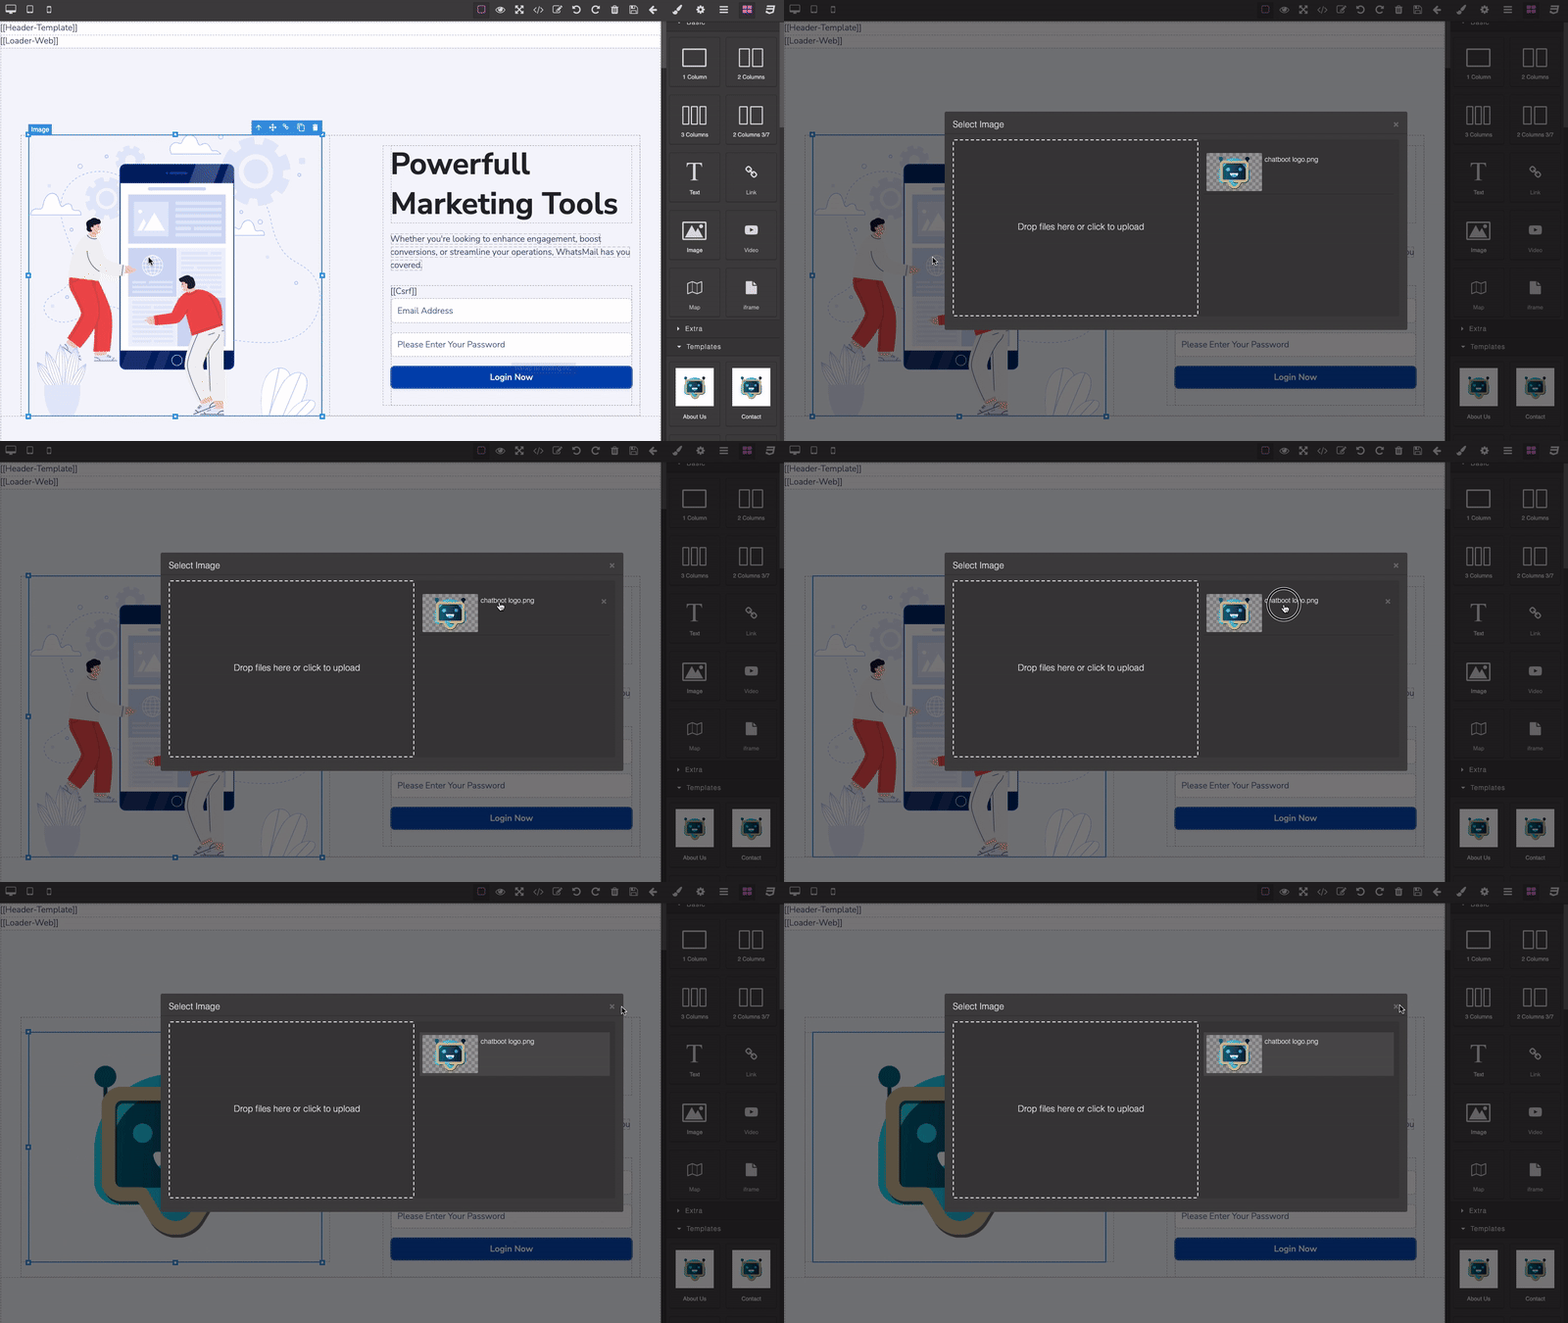
Double-click on the image you want to change. A pop-up will appear allowing you to select or upload a new image to replace the existing one.
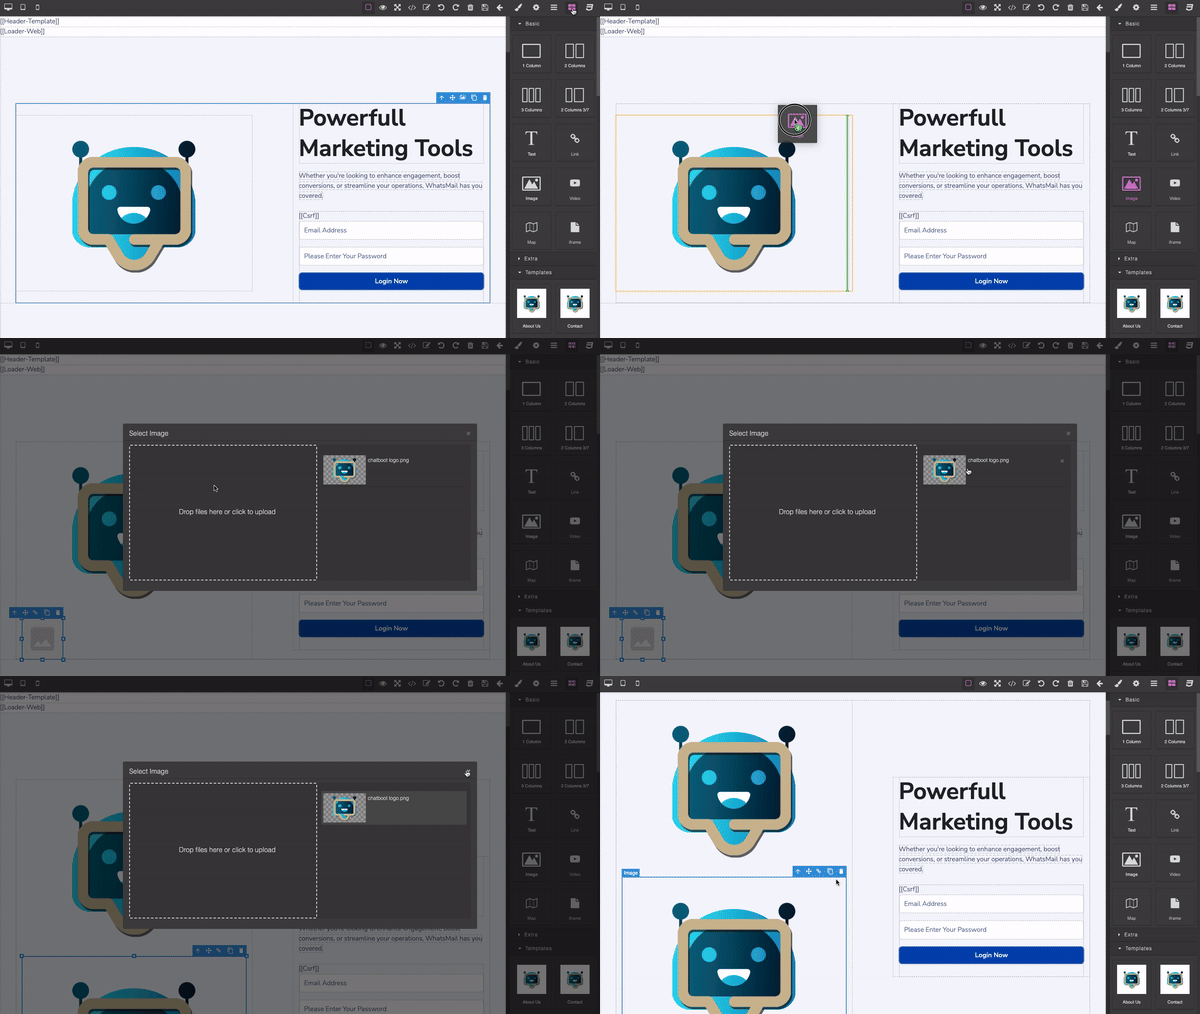
In the Basic Section, select the image component and drag and drop it into the body, then adjust the image as needed.
Double-click on the text you want to change.
Drag and drop the Title / Subtitle component from the Block Section, or choose the Text component from the Basic Section.
Before using this method, you need to know what classes are used in each section to avoid confusion or incorrect usage.
To manipulate the classes, you need to access the page in the source code view. Select the section or component you want to change, and use the available features to adjust the class.
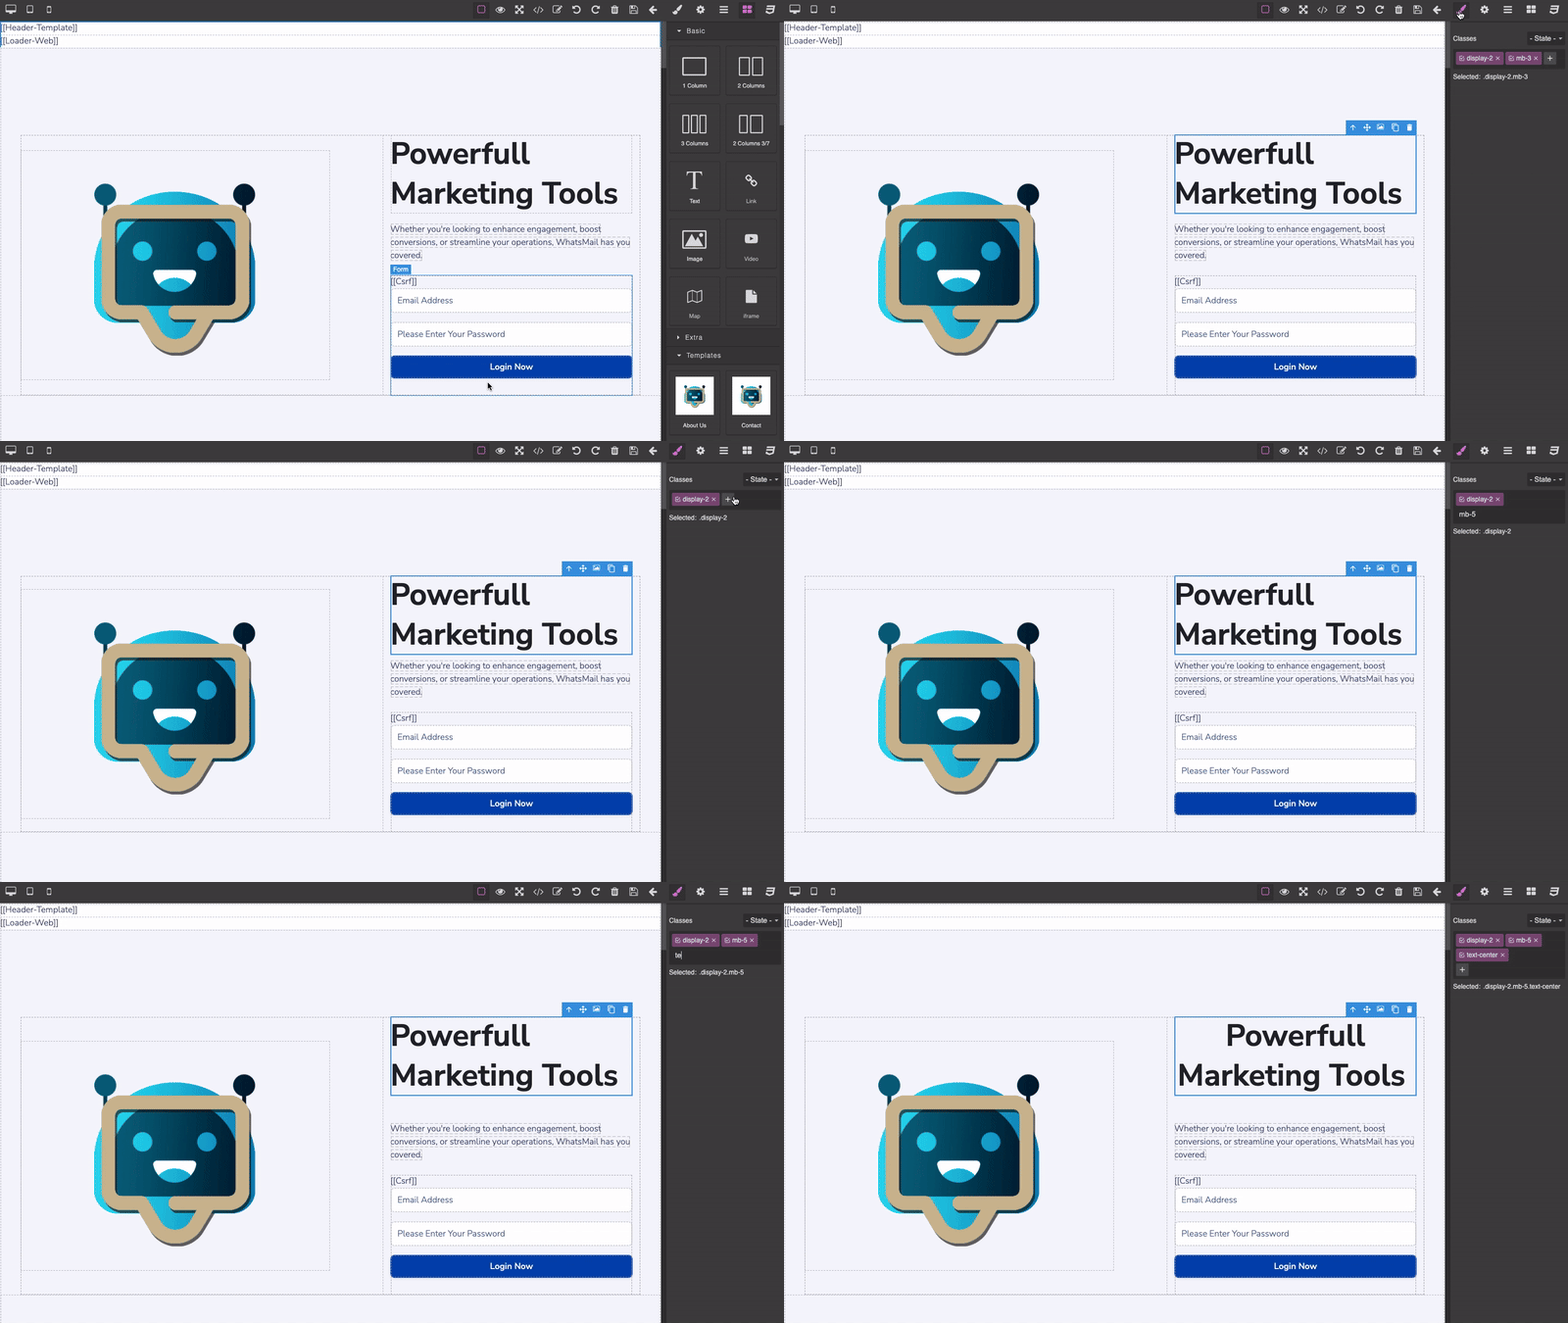
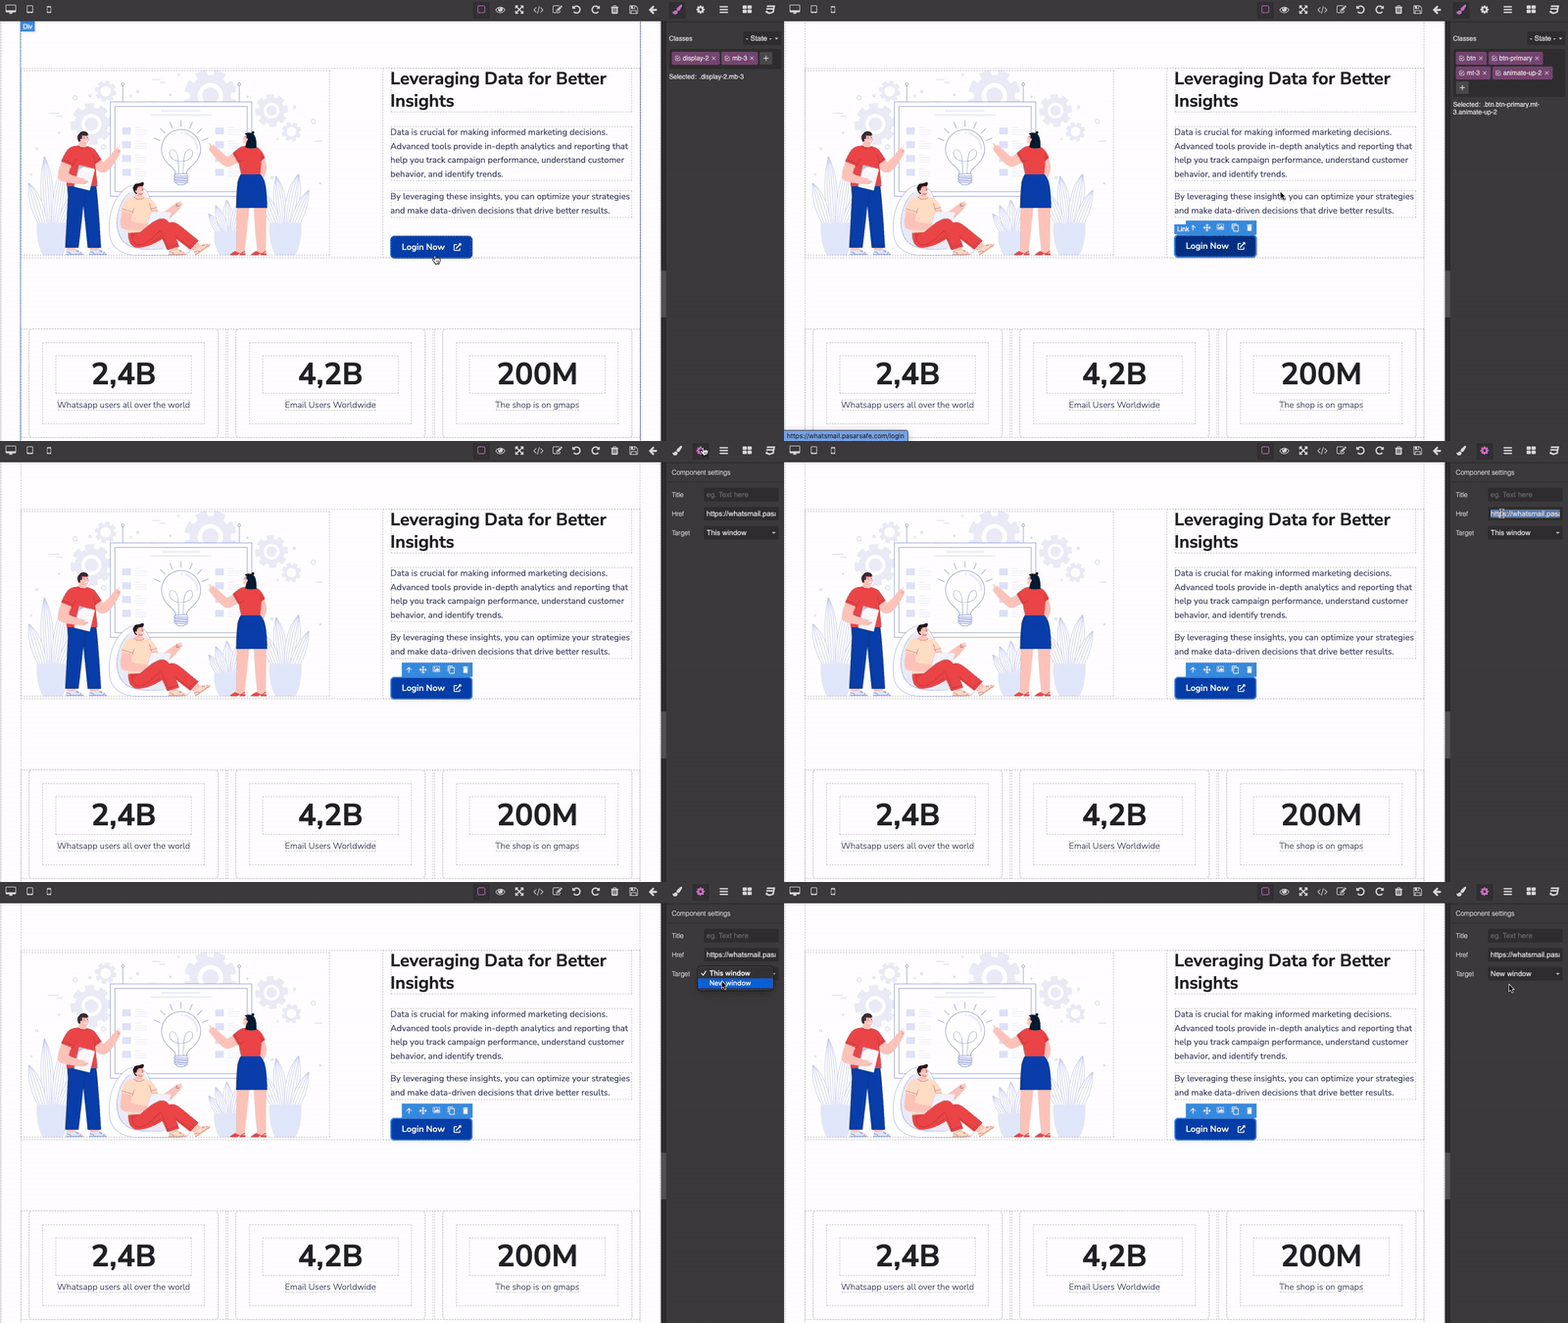
Click on the component or layer you wish to modify, then go to the Settings option and update the available attributes.
Go to the Layer Manager option, where you will see the various arrangements of the layout or design you have created.

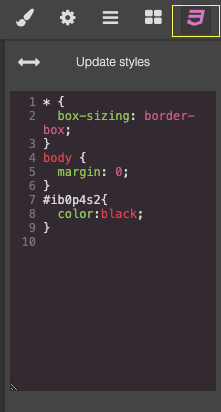
Go to the Modify Styles option and enter your CSS code.
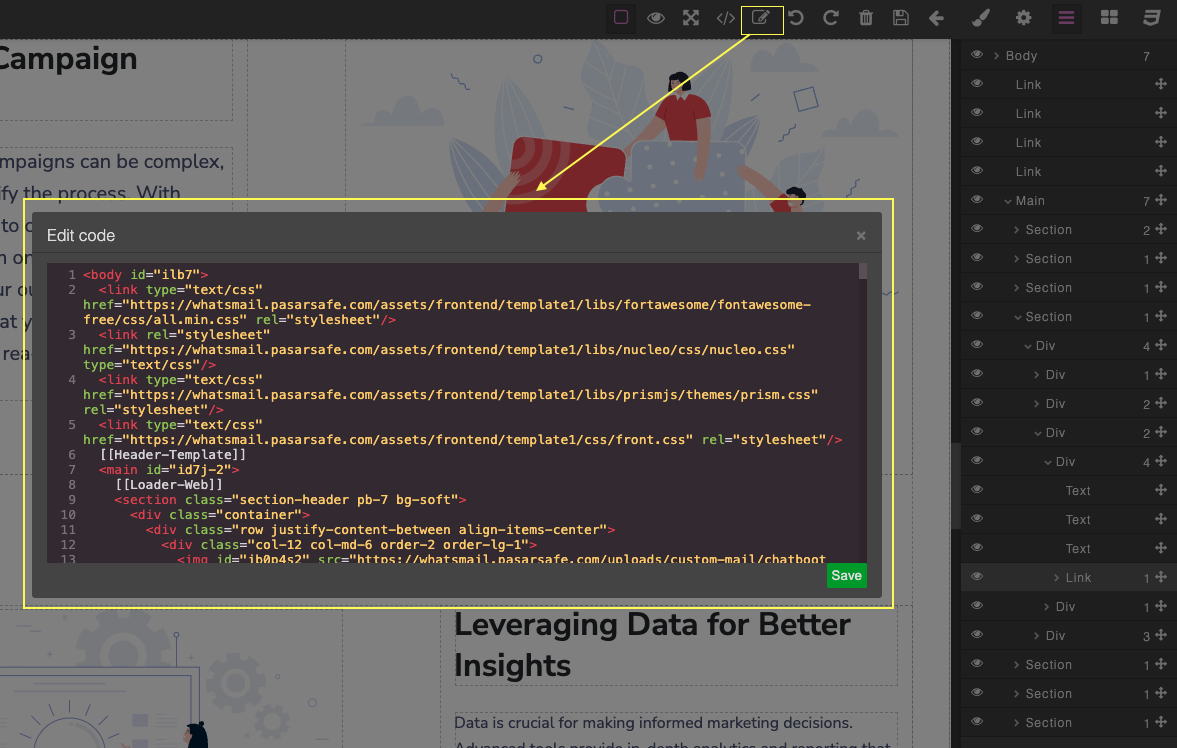
Click on the Edit Code option, then modify the code in the pop-up code editor. Click save once you have finished adjusting the code.
